 Hello friends, I hope you all are doing fine. In today’s tutorial, I am going to share a new Soil Moisture Sensor Library for Proteus V2.0. You should also have a look at its previous version i.e. Soil Moisture Sensor Library for Proteus V1.0. If you have worked on the previous version, it has only one soil moisture sensor in it, while in this library, we have added three soil moisture sensors.
First, we will have a brief introduction of the Soil Moisture sensor, then we will download the zip file containing Proteus Library files of Soil Moisture Sensor and finally, we will design a small simulation using these new sensors. So, let’s get started:
What is Soil Moisture Sensor?
- Soil Moisture sensor is an embedded sensor, used to measure the moisture level of the soil.
- It is normally used in agricultural automation projects, i.e. controlling the water flow based on the moisture level of the soil.
- Soil Moisture sensors are available with both analog and digital outputs.
- They normally have a potentiometer embedded in them, for controlling the sensitivity of the sensor.
Before downloading the sensor’s library file, let’s first have a look at what’s new in version 2.
Difference b/w V1.0 & V2.0
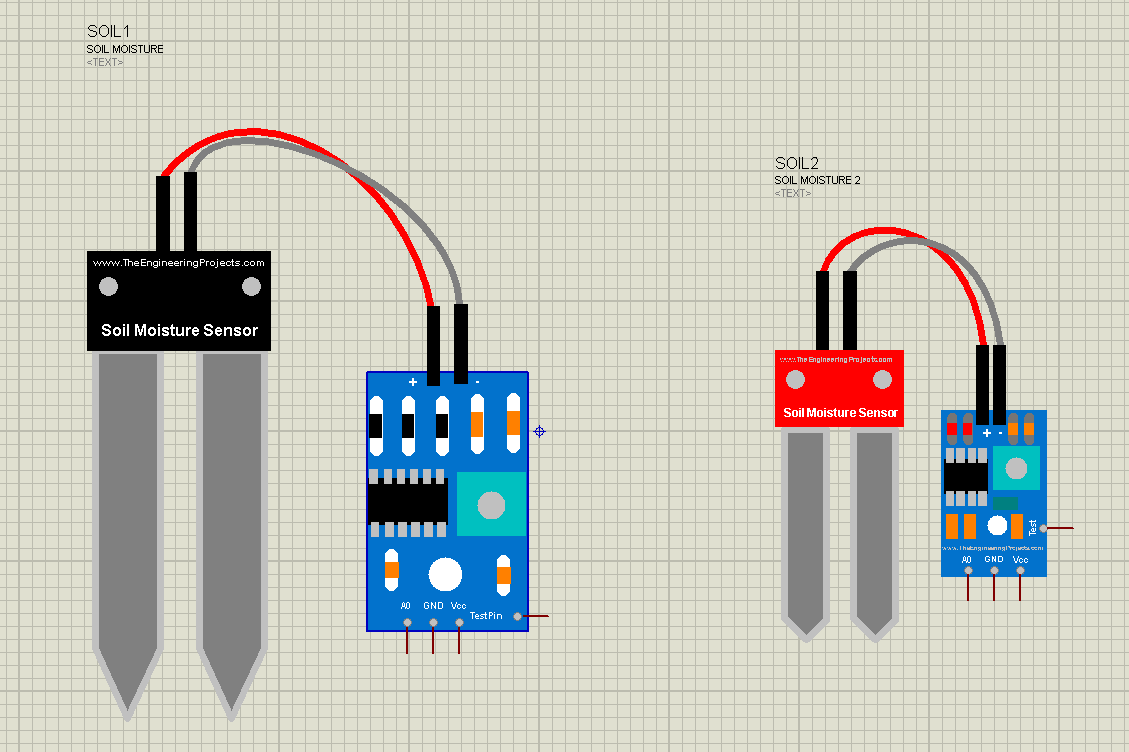
- We received many complaints about the big size of the Soil Moisture sensor(V1.0), so we have reduced their sizes in this new library(V2.0).
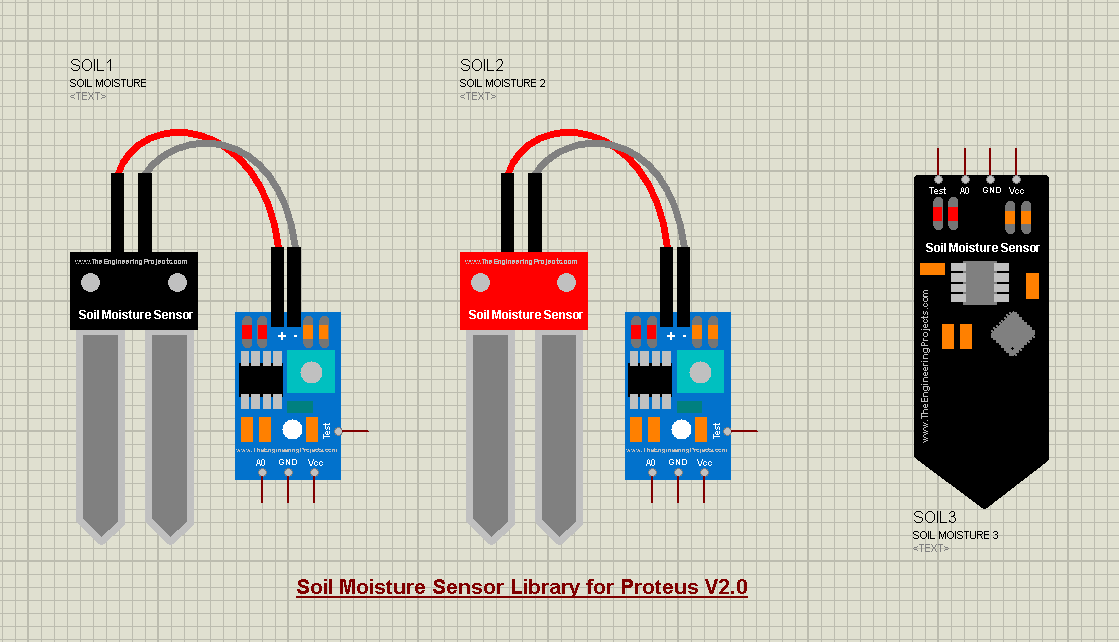
- The first version contains only 1 soil moisture sensor, while in V2.0 we have added three soil moisture sensors.
- The output of V1.0 was quite smooth, while in V2.0 we have made the output a bit fluctuating to make it more realistic.
Now, let’s download the Proteus Library zip file for this sensor and simulate it in Proteus:
Soil Moisture Sensor Library for Proteus V2.0
- First, we need to download the Proteus Library zip file, by clicking the below button:
[DownloadButton]
- After downloading the zip file, extract it and open the folder named Proteus Library Files.
- You will find three files in this folder, named as:
- SoilMoistureSensor2TEP.IDX
- SoilMoistureSensor2TEP.LIB
- SoilMoistureSensor2TEP.HEX
- Place these files in the library folder of your Proteus software.
Note:
- If you are facing problems with adding a library in Proteus 7 or 8 Professional, then have a look at How to add a new Library in Proteus 8 Professional.
- Now, open Proteus ISIS, and if you are already working on it, then restart it.
- In the components library, make a search for Soil Moisture Sensor, and you will get results as shown in the below figure:
- Let’s place these three soil moisture sensors in the Proteus workspace:
- Quite pretty, aren’t they?

Now let’s design a small simulation, to have a look at its working:
Proteus Simulation of Soil Moisture Sensor
- As you can see in the above figure, each of these sensors has 4 pins in total, which are:
- Vcc: We need to provide +5V here.
- GND: We need to connect it to Ground.
- A0: It’s the analog output pin, its value will increase as the moisture level of the soil will increase.
- TestPin: The voltage level of TestPin will decide the moisture level of the soil.
Why Test Pin is used?
- As it’s a simulation, so we can’t actually probe the sensor in real soil, so we are using this TestPin for testing purposes.
- The value of Test Pin can vary from 0 to 5V, so as the value of this Test Pin will increase, the sensor will consider the moisture level of the soil in increasing and thus its output will also increase. In simple words:
- If TestPin is HIGH: Soil has maximum moisture level.
- If TestPin is LOW: Soil is completely dry.
- We will place a potentiometer at TestPin to provide variable voltage for testing.
Adding Hex File to the sensor
- We have placed three library files of soil moisture sensor in the Library folder of Proteus, and if you have noticed, one of them is the .hex file.
- In order to operate this sensor, we need to add that hex file to our sensor.
- So, double click on the Soil Moisture sensor to open its Properties Panel.
- In the properties panel, we have a section named “Program File“, here upload the hex file which we have downloaded, as shown in the below figure:
- After adding the hex file, click Ok to close the properties panel.
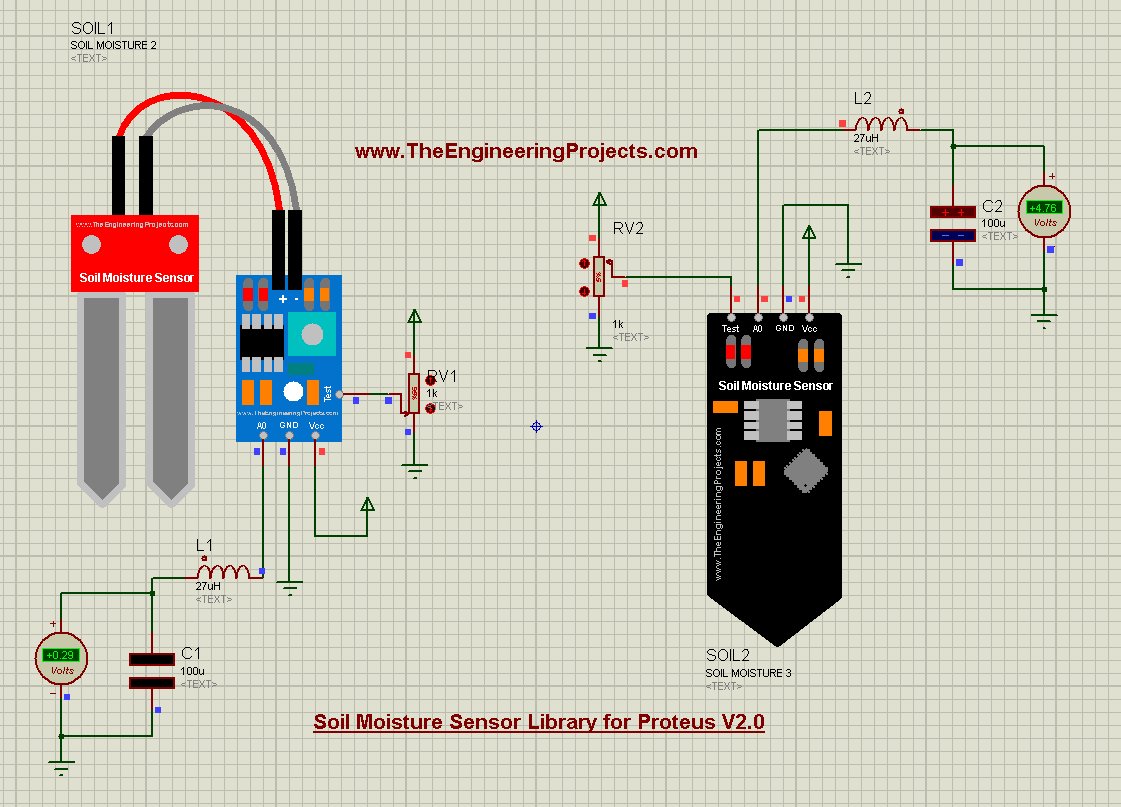
- Now, design a small simulation, as shown in the below figure:(I have added this simulation in the Proteus Library zip file)
- I have added the hex file in both of these soil moisture sensors.
- Now, let’s run the Proteus Simulation and have a look at the output:
- As we change the value of the potentiometer(attached to Test Pin), the output of the sensor will change accordingly.
So, that was all for today. I hope this library will help embedded students in their engineering projects. If you have any suggestions/comments, please use the below comment form. Thanks for reading. Take care. Bye !!! 
JLCPCB – Prototype 10 PCBs for $2 (For Any Color)
China’s Largest PCB Prototype Enterprise, 600,000+ Customers & 10,000+ Online Orders Daily
How to Get PCB Cash Coupon from JLCPCB: https://bit.ly/2GMCH9w
The post Soil Moisture Sensor Library for Proteus V2.0 appeared first on The Engineering Projects.


No comments:
Post a Comment