 Hello everyone, I hope you all are fine. In today’s tutorial, we are going to share a new Lipo Battery Library for Proteus. Proteus has a 12V battery module in it but they are quite simple in looks, so we have simply designed a stylish looking lipo battery, I hope you will find it useful for a better project presentation.
This Proteus Library has two Lipo Batteries in it, one is of 3.7V and the second one is of 11.1V, these are normally available Lipo models in the market. Although, you can change the voltage level of these batteries from their properties panel. Let’s first have a look at the brief introduction of Lipo Baterry:
What is Lipo Battery???
- Lipo is an abbreviation of lithium polymer battery, designed using lithium-ion technology and uses polymer electrodes.
- Lipo Battery provides high power in a small package and thus used in autonomous project i.e. quadcopter, robotic vehicles etc.
Lipo Battery Library for Proteus
- First of all, we need to download the Proteus Library zip file of the Lipo battery, by clicking the below button:
[DownloadButton]
- In this zip file, you will find a folder named Proteus Library Files.
- In this folder, we have two files:
- LipoBatteryTEP.LIB
- LipoBatteryTEP.IDX
- Place these two files in the library folder of your Proteus software
Note:
- If you are facing problems with adding a library in Proteus 7 or 8 Professional, then have a look at How to add a new Library in Proteus 8 Professional.
- After adding these Library files, open your Proteus software or restart it, if it’s already open.
- In the components section, make a search for Lipo Battery and you will get results, as shown in the below figure:
- As you can see, now we have two Lipo batteries in the components database, so let’s place them in the Proteus workspace.
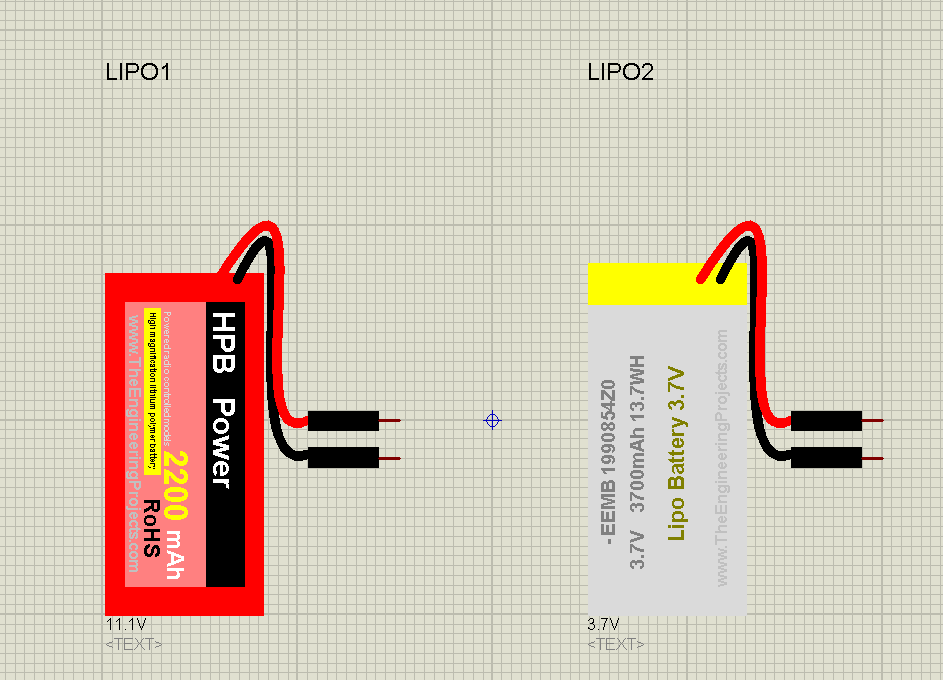
- If everything’s fine, then you will get results as shown in the below figure:
- As you can see in the above figure, we have two Lipo Batteries:
- One is operating at 11.1V.
- Second one is operating at 3.7V
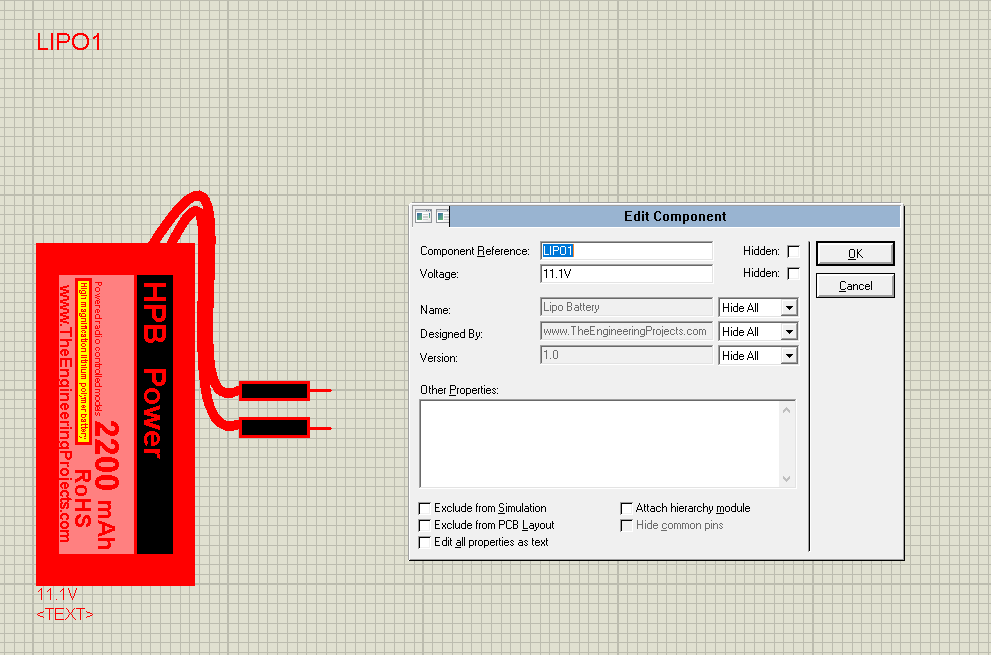
- We can change the voltage level from the properties panel, so double click on the Lipo battery to open its properties, as shown in the below figure:
- As you can see in the above figure, we have 11.1V written in the Voltage text box, so here you can change the voltage level of these batteries.
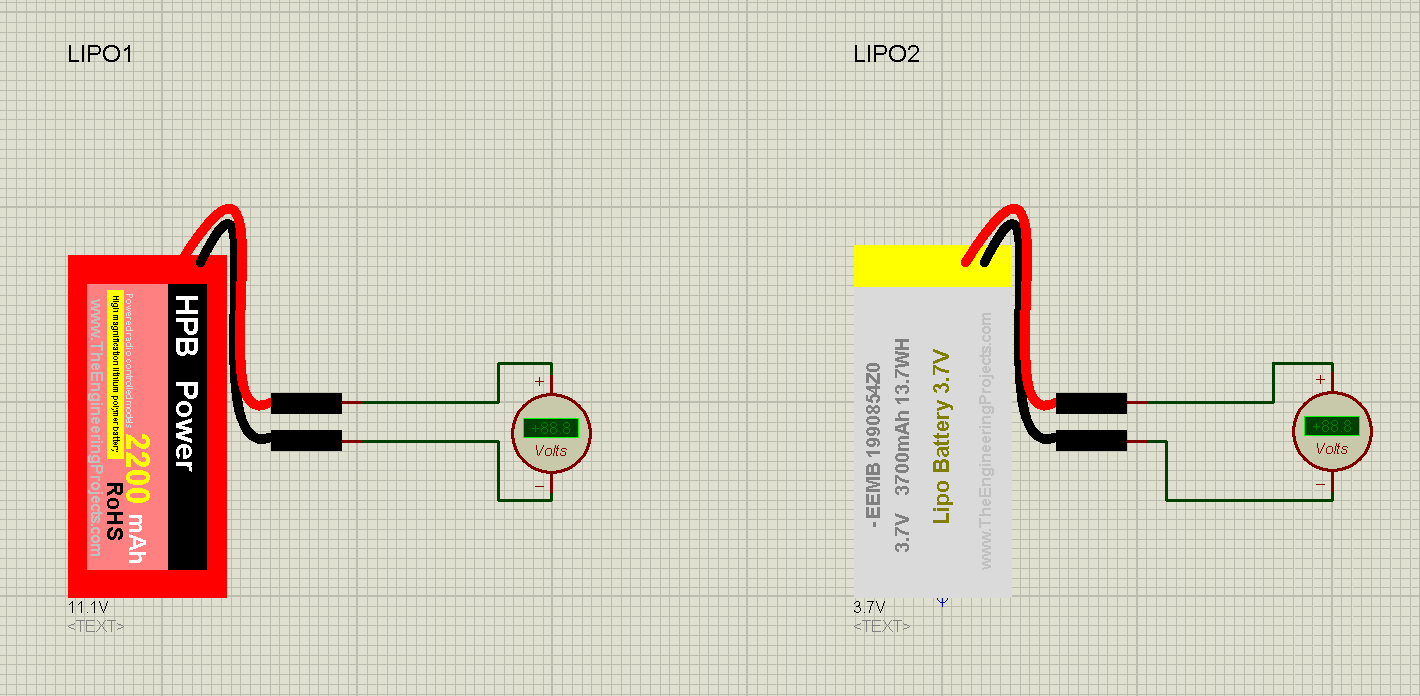
- Now, let’s design a simple simulation to understand how it works:
- So, I have simply attached a voltmeter with both of these lipo batteries, as shown in the above figure.
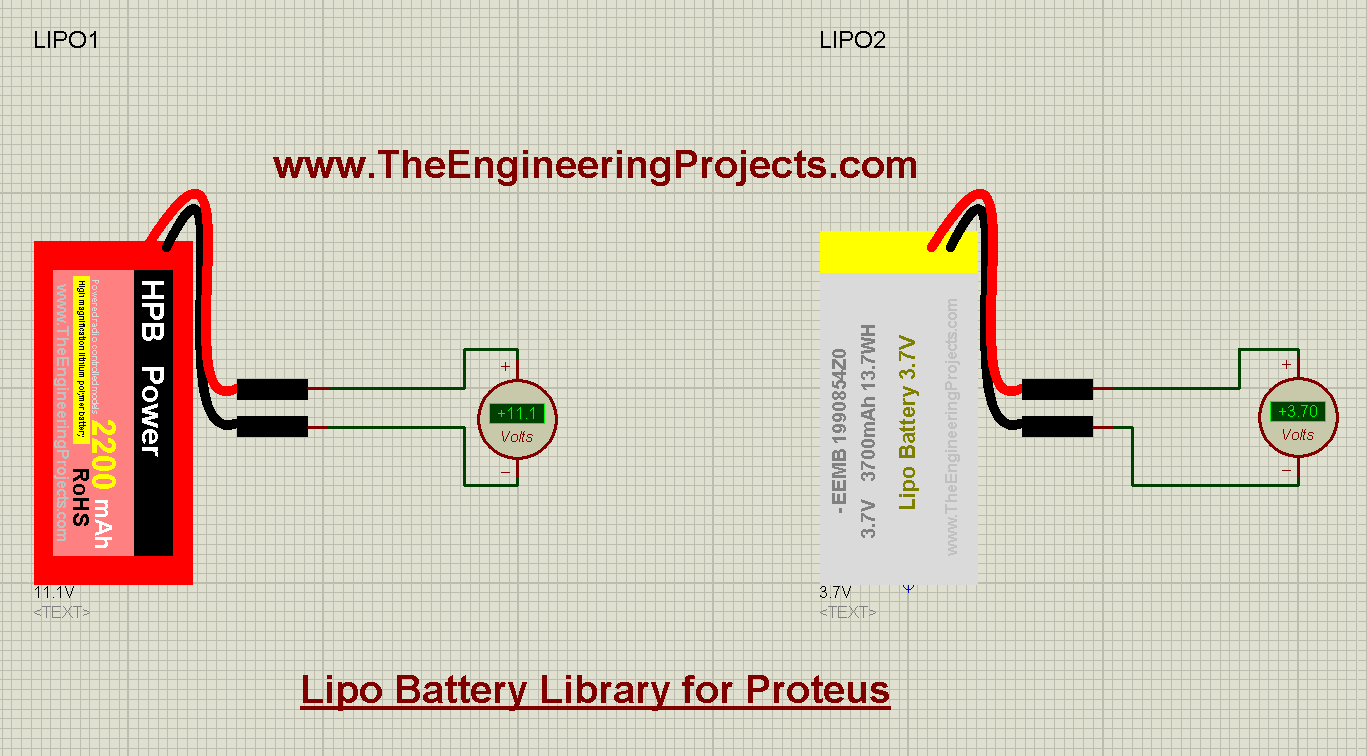
- Now, let’s run our simulation and if everything’s fine, you will get results as shown in the below figure:
- If you are working on a 12V project, then simply change the voltage level from the properties panel and use it in your project.
So, that was all for today. I hope you have enjoyed today’s tutorial. If you have any questions, please ask in comments and we will help you out. Thanks for reading.. Take care. Bye !!! 
JLCPCB – Prototype 10 PCBs for $2 (For Any Color)
China’s Largest PCB Prototype Enterprise, 600,000+ Customers & 10,000+ Online Orders Daily
How to Get PCB Cash Coupon from JLCPCB: https://bit.ly/2GMCH9w
The post Lipo Battery Library for Proteus appeared first on The Engineering Projects.


No comments:
Post a Comment